Open/Run Gimp.
Go to File->Open and select the image you want to watermark.
Right Click somewhere on the white portion of the LAYERS box.
Select the TEXT TOOL in the TOOLBOX box.
Click on the upper left corner of the image and drag down to the bottom right corner of the image.
Change the COLOR to white or some other pale shade in the GIMP TEXT EDITOR that pops up.
Note: You can change the font and font size if you'd like as well.
Type out 1 line of what you'd like the watermark to say. Highlight the text, hit CTRL+C, and then hit CTRL+V repeatedly until the text box covering the image is full. For my example, I used "This is the property of notsoangryredhead. "
Hit the CLOSE button.
Click back to the LAYERS box.
Click once on the text layer you just created.
Above the layer, towards the top of the box, there is a scale labeled OPACITY. Change the OPACITY so that you can just barely see the text.
Click on FILE->SAVE AS.
Rename the image something slightly different than the original with the abbreviation for the extension (e.g., .JPG or .PNG).
Select the folder where you would like to save the folder.
Click SAVE.
A new box will pop up asking if you would like to export the image and compress the layers. Click EXPORT.
If you are using a JPG image, which is most likely, another new box will pop up asking for the quality you would like to save the image as. Between 85 and 98% is pretty common. I usually use 90% for an image I'm posting on my blog.
Click SAVE.
DONE!
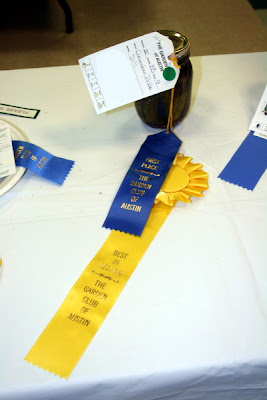
Here's my before:

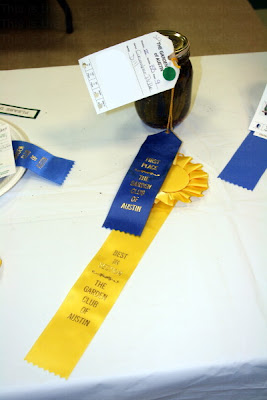
Here's my after:

To see how the watermark worked, click on both images and compare. The difference is very, very slight but enough. You can keep the OPACITY higher for a more obvious watermark.
There are many other tutorials on how to do this, and they range from using images as watermarks to hidden watermarks. I am just demonstrating how I copyright images.
If you have any questions/opinions/objections, please let me know.


Hi~~ My daughters love Gimp. They are much more computer savvy than I am. Apparently so are you. :) I've had great results and found it much easier to watermark and edit with Picasa 3.5. Like Gimp, it's free to download and install. So many great toys out there.
ReplyDeleteFor those who use a PC and who want to work with an entire folder and/or group of photos, FastStone Image Viewer is free and it makes the process very fast. Once it is set up, it can be used over and over instead of working with one image at a time and is easy.
ReplyDeleteHere is the website: http://www.faststone.org/FSViewerDetail.htm
Thanks for the post!
[ Jeff ]